


Sports lighting is one of those systems that only truly „reveal themselves” during use. On the day of handover, everything might look great, but after a few months, the comments start: „it’s dark in the corners”, „the ball disappears mid-air”, „the glare in the goal is blinding”, „the camera isn’t catching the details”. And very often, it’s not that there are too few luminaires — it’s that the design wasn’t calculated and verified according to the standard.
In Europe, the key reference point is EN 12193 — a standard that organizes the requirements for lighting sports fields and halls: from selecting class I/II/III, through maintained illuminance (lx) and uniformity, to glare (RG/RUG), TV requirements and the principles of the measurement grid for handover. Today, we’re going to discuss exactly that.
From this article, you will learn:
- What is EN 12193 and what exactly does it regulate?
- How to understand PA and TA areas and why can TA “cause the acceptance to fail”?
- How to select lighting class I / II / III for the competition level, audience, and application?
- Which parameters most often determine compliance with the standard?
- What does the calculation and measurement grid look like?
- What requirements appear for TV broadcasts?
- How to limit obtrusive light (spill light) on outdoor pitches?
- What are the most common errors in designs and modernizations?
- How to link the standard with design and auditing in DIALux?
- Mechanical resistance, i.e., Ball-proof – DIN 18032-3 standard
What is EN 12193 and what exactly does it regulate?
If we are to avoid a situation where „it is OK on paper, but something isn’t right in use”, we need a single point of reference that defines what, where, and how we measure. In sports lighting, that point is EN 12193. It is a standard that organizes requirements for indoor facilities (halls) and outdoor facilities (fields/stadiums) and its main goal is simple: to provide lighting conditions that ensure the game is safe and clear — for players, referees, spectators, and if needed, also for cameras.
Importantly: EN 12193 is not reduced to the question „how many lux should be on the field?”. The standard integrates light quality parameters, requirements for various levels of play, and verification rules (calculations and measurements). This ensures that the design and handover are not discretionary — they are based on clearly described criteria.
The standard applies to indoor and outdoor sports and covers (minimum requirements):
the values that the installation must maintain over time, not just „on the day of handover”
Outside the field of play: spectators and emergency situations (often omitted in documentation)
It is worth knowing that while in practice EN 12193 is mainly associated with requirements for the field of play (lx, uniformity, glare), it should be remembered that the standard also touches upon two areas that often „escape” in specifications and tenders.
For the comfort of spectators, the standard indicates minimums:
The standard describes the approach to emergency situations so that it is possible to safely interrupt activities and/or maintain minimum conditions depending on the facility’s scenario. In the documentation, it is worth clearly separating the requirements for: the field of play, the audience, and the emergency mode — thanks to this, the handover is not based on interpretations.
PA and TA – two areas that make the difference in handover
In EN 12193, there are two concepts of the „reference area” on which lighting parameters are calculated and measured:
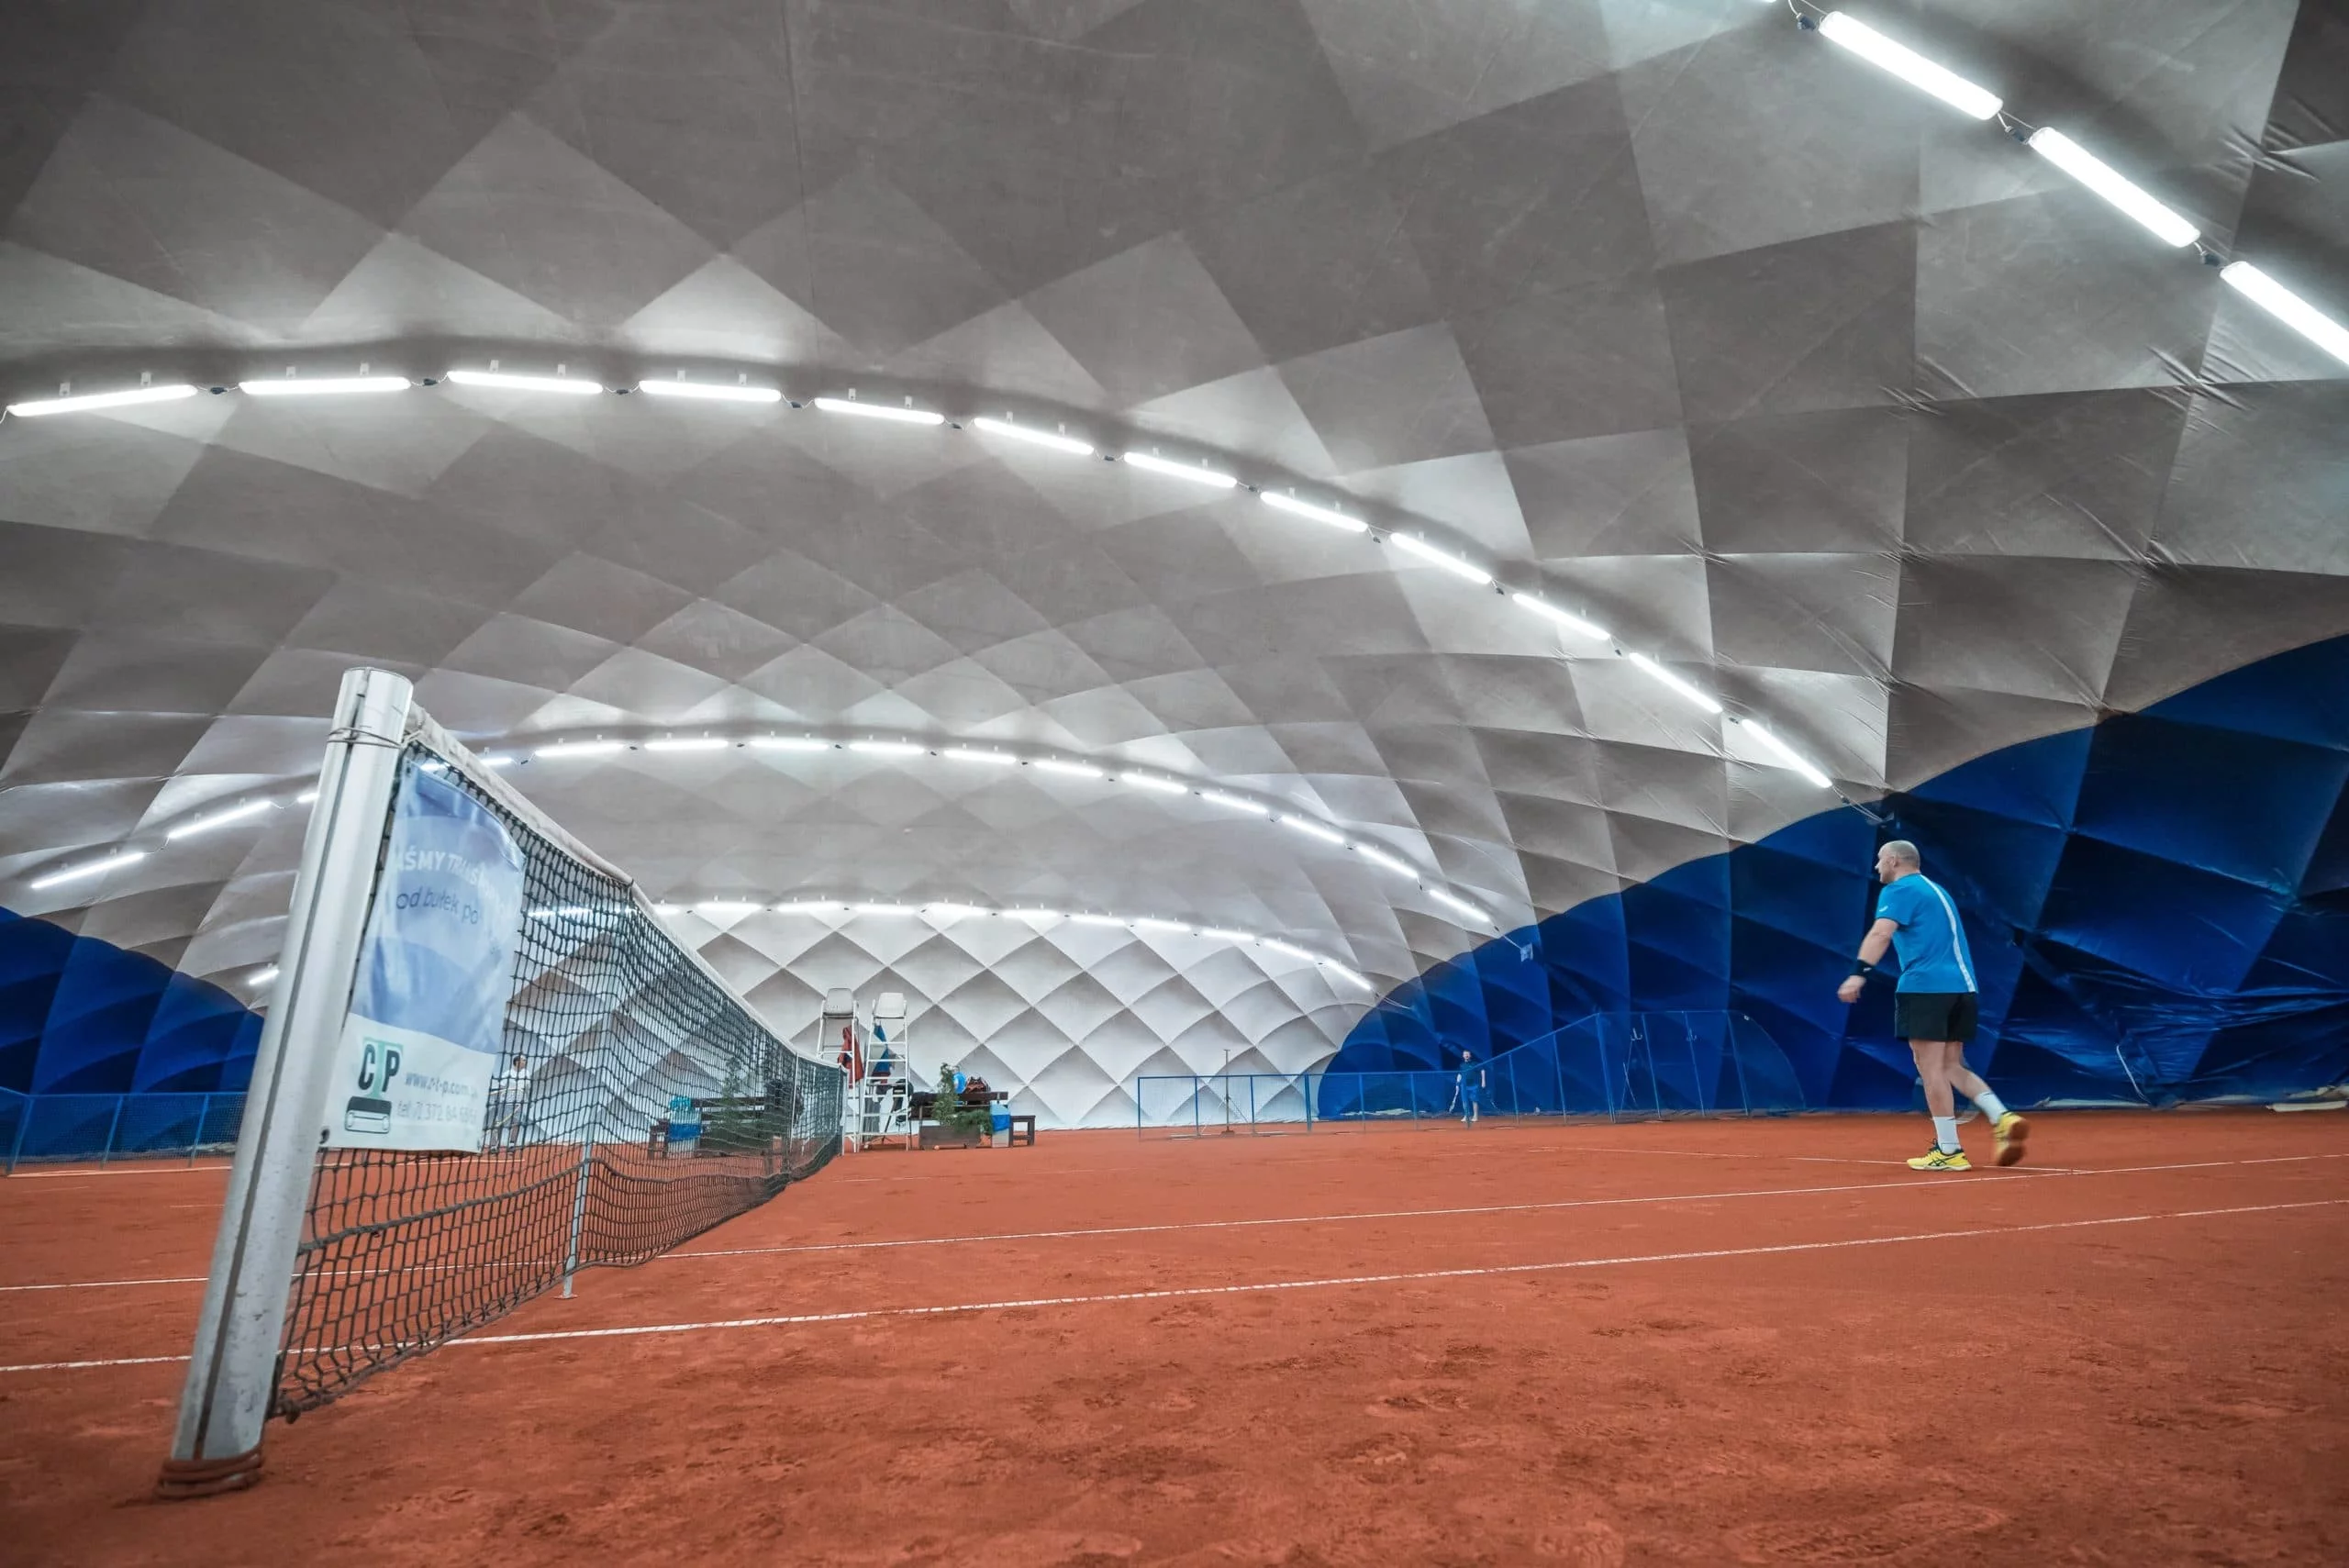
PA is the „actual field of play required for a given sport” — most often simply the marked lines of the pitch. The standard notes, however, that in some sports, PA may also include an additional playing zone around the lines (e.g. tennis, volleyball, table tennis).
TA is the area that usually includes PA + an additional safety zone outside the field of play. And this is the key: TA is not a „whim”, but results from how a given discipline works (acceleration, run-out, overrunning the lines, zones behind the goal, etc.)
To put it simply:
- PA = field lines (play)
- TA = PA + „margin” around (safety)
When is TA required?
The standard states directly: „Where a total area (TA) is specified…” — meaning TA applies when for a given sport and level, PA and TA appear separately in the tables.
In practice:
- if only PA is shown in the table for a discipline -> we check requirements for PA only,
- if we see PA + TA -> we must meet the requirements for PA plus the minimum requirements for TA.
The 75% rule for TA – what does it really mean?
In EN 12193, the values given in the tables refer to maintained illuminance in the PA (Principal Area), i.e., on the actual field of play.
If a given discipline also has a defined TA (Total Area) — meaning the total area (PA + safety zone) — the standard introduces a clear rule:
- E(TA) >= 75% E(PA) – illuminance in the TA must be at least 75% of the illuminance in the PA,
- U(TA) >= 75% U(PA) – uniformity in the TA must be at least 75% of the uniformity in the PA.

And here is an important point: this is not a „loosening” that allows skipping the TA. TA is still subject to assessment – the standard simply allows the lighting in the safety zone to be slightly lower than on the field of play, but it must still be sufficient and as uniform as possible.
In practice, this means that if the design „delivers” the lux on the PA, but „dips” occur in the TA (e.g., near the boards, walls, behind the goal), a problem usually arises during the handover – even though the PA looks good „on paper”.
| Name | Product-Code | Dimensions W x H x L [mm] | Power [W]. | Luminosity [lm] | Efficiency [lm/W] | Color temperature [K] | CRI/Ra | Protection Rating [IP] | Light distribution |
|---|---|---|---|---|---|---|---|---|---|
| CORDOBA LED U1 3.0 1 |
CRD3U1.10.025.7C3000 CRD3U1.10.025.7C4000 CRD3U1.10.025.7C5700 |
248/125/476 248/125/476 248/125/476 |
25 25 25 |
3400 – 3500 3600 – 3700 3450 – 3550 |
136 – 140 144 – 148 138 – 142 |
3000 4000 5700 |
>70 >70 >70 |
66 66 66 |
67°X47° 80°X15°
67°X47° 80°X15°
67°X47° 80°X15°
67°X47° 80°X15°
67°X47° 80°X15°
67°X47° 80°X15°
|
| CORDOBA LED U1 3.0 2 |
CRD3U1.20.037.7C3000 CRD3U1.20.037.7C4000 CRD3U1.20.037.7C5700 |
248/125/476 248/125/476 248/125/476 |
37 37 37 |
5200 – 5300 5500 – 5600 5200 – 5400 |
140 – 143 148 – 151 140 – 145 |
3000 4000 5700 |
>70 >70 >70 |
66 66 66 |
67°X47° 80°X15°
67°X47° 80°X15°
67°X47° 80°X15°
67°X47° 80°X15°
67°X47° 80°X15°
67°X47° 80°X15°
|
| CORDOBA LED U1 3.0 3 |
CRD3U1.30.043.7C3000 CRD3U1.30.043.7C4000 CRD3U1.30.043.7C5700 |
248/125/476 248/125/476 248/125/476 |
43 43 43 |
6100 – 6200 6400 – 6500 6100 – 6250 |
141 – 144 148 – 151 141 – 145 |
3000 4000 5700 |
>70 >70 >70 |
66 66 66 |
67°X47° 80°X15°
67°X47° 80°X15°
67°X47° 80°X15°
67°X47° 80°X15°
67°X47° 80°X15°
67°X47° 80°X15°
|
Lighting classes I / II / III – how to choose them without guessing?
In EN 12193, „lighting class” is not a marketing label, but a simple way to match lighting quality to the level of play and observation conditions. The higher the level of play, the larger the audience, and the greater the viewing distances (from stands, heights, or more distant sectors), the higher the appropriate class will be.
Therefore, before designing the lighting, it is worth answering 3 questions:
- Is it intended for recreation/training or official competition?
- Is there (or will there be) an audience at the facility and how far from the field of play?
- Is video recording / broadcasting involved (even if only local)?
The standard emphasizes this direction directly: the higher the level of play and the further the spectator, the higher the lighting class.
| Class | I |
| When is it used? | Highest level of play, large stands, large viewing distances |
| Typical facility application | High-level competitions, „showpiece” facilities, often also requirements for cameras |
| What does it mean in practice? | Highest requirements for lighting quality (including viewing comfort) |
| Class | II |
| When is it used? | Intermediate level (regional/club), moderate audience |
| Typical facility application | League/club matches, tournaments, municipal facilities |
| What does it mean in practice? | „Middle-ground” requirements — still for handover and play comfort, but lower than Class I |
| Class | III |
| When is it used? | Local level: training, recreation, schools, usually without spectators |
| Typical facility application | School activities, training sessions, amateur sports |
| What does it mean in practice? | Minimum standard requirements for basic usage |
| Class | When is it used? | Typical facility application | What does it mean in practice? |
|---|---|---|---|
| I | Highest level of play, large stands, large viewing distances | High-level competitions, „showpiece” facilities, often also requirements for cameras | Highest requirements for lighting quality (including viewing comfort) |
| II | Intermediate level (regional/club), moderate audience | League/club matches, tournaments, municipal facilities | „Middle-ground” requirements — still for handover and play comfort, but lower than Class I |
| III | Local level: training, recreation, schools, usually without spectators | School activities, training sessions, amateur sports | Minimum standard requirements for basic usage |
Parameters that most often „overturn” the handover
As mentioned at the beginning — in practice, sports lighting handovers rarely fail because „luminaires are missing”. More often than not, the problem is more subtle: the average amount of light looks good, but the installation fails to meet one of the quality parameters or wasn’t calculated in a way that allows for a fair comparison with measurements later.
Therefore, below we have gathered four elements that most frequently determine compliance with EN 12193: maintained illuminance (lx), uniformity, glare, and color quality (including indicators critical for TV). This is the part of the standard that truly decides whether the system passes the handover and continues to perform well over time.
All values in the requirements tables are maintained and refer to PA. This means: in the design, we must include the maintenance factor — because the standard distinguishes between initial values (when the installation is new) and maintained values (which must not be fallen below during the maintenance cycle).
Uniformity is verified on a grid of points, and the standard specifies the relationships between measures, e.g.: for horizontal uniformity: U1hor ≥ 50% U2hor.
The standard indicates that in the revision, minimum requirements for players were increased: Ra was increased from >20 to >60. For cameras and video image production, the TLCI index was introduced (instead of CRI alone).
TIP (Design and Commissioning Practice)
If you want to avoid a situation where the installation “delivers” the required results on the day of measurement but starts lacking light after a few months, one thing is key: we work with maintained values, not “fresh” ones. That is why it is worth going through a simple checklist at the design stage — it is usually what determines whether the result will be stable over time and safe during handover.
Checklist (Design Practice):
- Selection of luminaires and optics for a specific facility and discipline,
- Application of the maintenance factor (declines in luminous flux and dirt accumulation over time),
- Calculations for required areas (PA/TA) and the agreed grid,
- Verification of the result “over time,” not just “at the start.”
Calculation and measurement grid – how to do it “according to best practice”?
Since we already know which parameters most often cause acceptance failures, a key question arises: at which points and in what way should we calculate and measure them so that the design result can later be compared with the acceptance result?
This is where EN 12193 comes in with a very practical answer: it organizes the calculation and measurement grid as well as the rules for recording measurements. As a result, there is no “discretion” such as: someone measuring at certain points, someone else at others, someone at a different height—and then everyone is surprised that the numbers do not match.
Below, we summarize the most important rules in the form of a simple procedure: first the grid (where we measure), then the report (what we record), and finally the tolerance (how we compare the design with reality).
General Grid Principles
- grids are typically rectangular,
- illuminance is calculated/measured at the center of the grid cells,
- reference level: 0 m for $E_{hor}$, and 1.5 m for $E_{vert}$ (by default).
STEP 1: Grid – where do we measure?
The EN 12193 standard provides a method for estimating the maximum spacing of grid points as a function of the longer dimension of the reference area. The formula is as follows: p = 0.2 × 5^(log d), where p is the grid size (approximate maximum distance between points) and d is the longer dimension of the reference area. Then, the number of points in the longer direction is determined as the nearest odd integer from the ratio d/p, and the shorter direction is selected analogously so that the grid cells are as close as possible to a 1:1 proportion.
STEP 2: Report – what should be included in it?
Once the grid is established, the second step is the report — because without it, the measurement result is a “bare number” without context. The standard lists elements of the measurement record, including:
- date/time,
- geometry and positions of luminaires,
- types of sources/control systems,
- age of luminaires, cleaning,
- operating voltage,
- climatic conditions (outdoor),
- instrument data (class/calibration).
STEP 3: Tolerance: measurement vs calculations
Finally, there is the comparison: design (calculations) versus reality (measurements). The standard indicates that the differences between the average measured and calculated values (after considering tolerances) should be within ≤ 10%.
| Step | I |
| What are we calculating? | Longer dimension d |
| Calculation | d = 105 m |
| Result | 105 m |
| Step | II |
| What are we calculating? | Grid step p |
| Calculation | p = 0,2 × 5^(log 105) |
| Result | p ≈ 5,17 m |
| Step | III |
| What are we calculating? | Points in length N |
| Calculation | N ≈ nearest odd integer from (105 / 5.17) |
| Result | N = 21 |
| Step | IV |
| What are we calculating? | Spacing in length |
| Calculation | 105 / 21 |
| Result | 5,00 m |
| Step | V |
| What are we calculating? | Points in width M |
| Calculation | M ≈ nearest odd integer from (68 / 5.00) |
| Result | M = 13 |
| Step | VI |
| What are we calculating? | Spacing in width |
| Calculation | 68 / 13 |
| Result | 5,23 m |
| Step | What are we calculating? | Calculation | Result |
|---|---|---|---|
| I | Longer dimension d | d = 105 m | 105 m |
| II | Grid step p | p = 0,2 × 5^(log 105) | p ≈ 5,17 m |
| III | Points in length N | N ≈ nearest odd integer from (105 / 5.17) | N = 21 |
| IV | Spacing in length | 105 / 21 | 5,00 m |
| V | Points in width M | M ≈ nearest odd integer from (68 / 5.00) | M = 13 |
| VI | Spacing in width | 68 / 13 | 5,23 m |
In practice, this selection of points yields a grid with a “mesh” close to 1:1, making the results of calculations and measurements comparable and less susceptible to random deviations.
Sport + TV broadcasting: what EN 12193 requires “beyond classes I/II/III“
We mentioned above that slightly different rules apply when the facility is to be filmed — even locally. And indeed — in this case, class I/II/III for the discipline alone is often not enough.
If we are dealing with broadcasting — then “camera-ready” requirements are added: primarily vertical illuminance, color quality for the image, and flicker control at high frame rates.
| Area | Cameras and vertical illuminance |
| What do we check? | Evert / Ecam (vertical illuminance for cameras) |
| What does it mean in design practice? | We establish the positions of the main cameras and calculate the vertical illuminance on the appropriate planes/points (this is key to image quality). |
| Area | Relations and light “consistency” |
| What do we check? | Relation Ehor Ave / Ecam Ave, uniformity and gradient |
| What does it mean in design practice? | Just “many lux” is not enough – the consistency of light distribution matters, as well as whether the camera doesn’t “lose” details due to excessive differences in the field of play. |
| Area | Color for image |
| What do we check? | CCT + color consistency (outdoor) |
| What does it mean in design practice? | For floodlights operating “day -> dusk”, the standard specifies 5000–6000 K and emphasizes the consistency of color temperature in the installation. |
| Area | Color quality for cameras |
| What do we check? | TLCI |
| What does it mean in design practice? | “TV-ready” index: TLCI > 60 (minimum), and for major events TLCI > 80. |
| Area | Slow motion and flicker |
| What do we check? | Flicker Factor |
| What does it mean in design practice? | For SSM/USM (high fps), the standard refers to flicker reduction and specifies a FF < 1% threshold for specified integration times to avoid banding/artifacts. |
| Area | Frame surroundings |
| What do we check? | Contrast and background (e.g., first rows of stands) |
| What does it mean in design practice? | The standard signals that the “background” around the field of play also affects the image reception – the design should not leave extreme contrasts for the cameras. |
| Area | What do we check? | What does it mean in design practice? |
|---|---|---|
| Cameras and vertical illuminance | Evert / Ecam (vertical illuminance for cameras) | We establish the positions of the main cameras and calculate the vertical illuminance on the appropriate planes/points (this is key to image quality). |
| Relations and light “consistency” | Relation Ehor Ave / Ecam Ave, uniformity and gradient | Just “many lux” is not enough – the consistency of light distribution matters, as well as whether the camera doesn’t “lose” details due to excessive differences in the field of play. |
| Color for image | CCT + color consistency (outdoor) | For floodlights operating “day -> dusk”, the standard specifies 5000–6000 K and emphasizes the consistency of color temperature in the installation. |
| Color quality for cameras | TLCI | “TV-ready” index: TLCI > 60 (minimum), and for major events TLCI > 80. |
| Slow motion and flicker | Flicker Factor | For SSM/USM (high fps), the standard refers to flicker reduction and specifies a FF < 1% threshold for specified integration times to avoid banding/artifacts. |
| Frame surroundings | Contrast and background (e.g., first rows of stands) | The standard signals that the “background” around the field of play also affects the image reception – the design should not leave extreme contrasts for the cameras. |
Obtrusive light (spill light) – mandatory for outdoor pitches
As we approach the end of the article, it is worth noting one more thing – on outdoor pitches, we do not only design “for the turf.” We must also monitor what happens with the light outside the facility. This is precisely why EN 12193 refers to limiting obtrusive light and to the concept of “curfew,” i.e., the night-time period after which the nuisance requirements are more stringent..
In practice, this often determines:
- resident complaints and conflicts with the surroundings,
- formal provisions and administrative requirements,
- the necessity of selecting optics, shielding, and precise aiming of luminaires.
This all sounds quite “descriptive,” so below we show practical figures from the standard using the example of football — because it is only with specific values that we see where differences between expectations and acceptance most often occur.
Example: football – standard values vs. popular industry tables
To avoid speaking in generalities, let’s look at football — as it is the most common case in local government and club investments. The values below show how the standard sets levels for Classes I/II/III and why “popular tables from the internet” can be helpful for orientation, but should not be the basis for acceptance.
For football (outdoor), the standard specifies requirements for, among others, horizontal illuminance and uniformity on the PA:
For small indoor pitches (football 5/6-a-side), the standard provides:
TIP: popular “football field lighting standard” tables
Tables with levels around 1000/1400/2000 lx for TV often circulate online. They can be useful as industry shorthand and a starting point for discussing a facility’s classification, but they are not a substitute for professional design and commissioning.
In practice, we base design and verification on PN-EN 12193, as it establishes the official requirements for: maintained values, measurement grids, glare control, and camera-specific needs (including color quality and flickering).
It is precisely on these pillars (lx, uniformity, glare, light quality) that design and commissioning most often “diverge”—which is why we have listed the typical mistakes we see on pitches and in sports halls below.
Most common errors seen at sports facilities
Summarizing everything above, we can notice that there are several primary mistakes in lighting design for sports facilities:
Since we know where problems most often occur, let’s move to the practical process: how to calculate it in the design and how to prepare the acceptance so that the results are comparable.
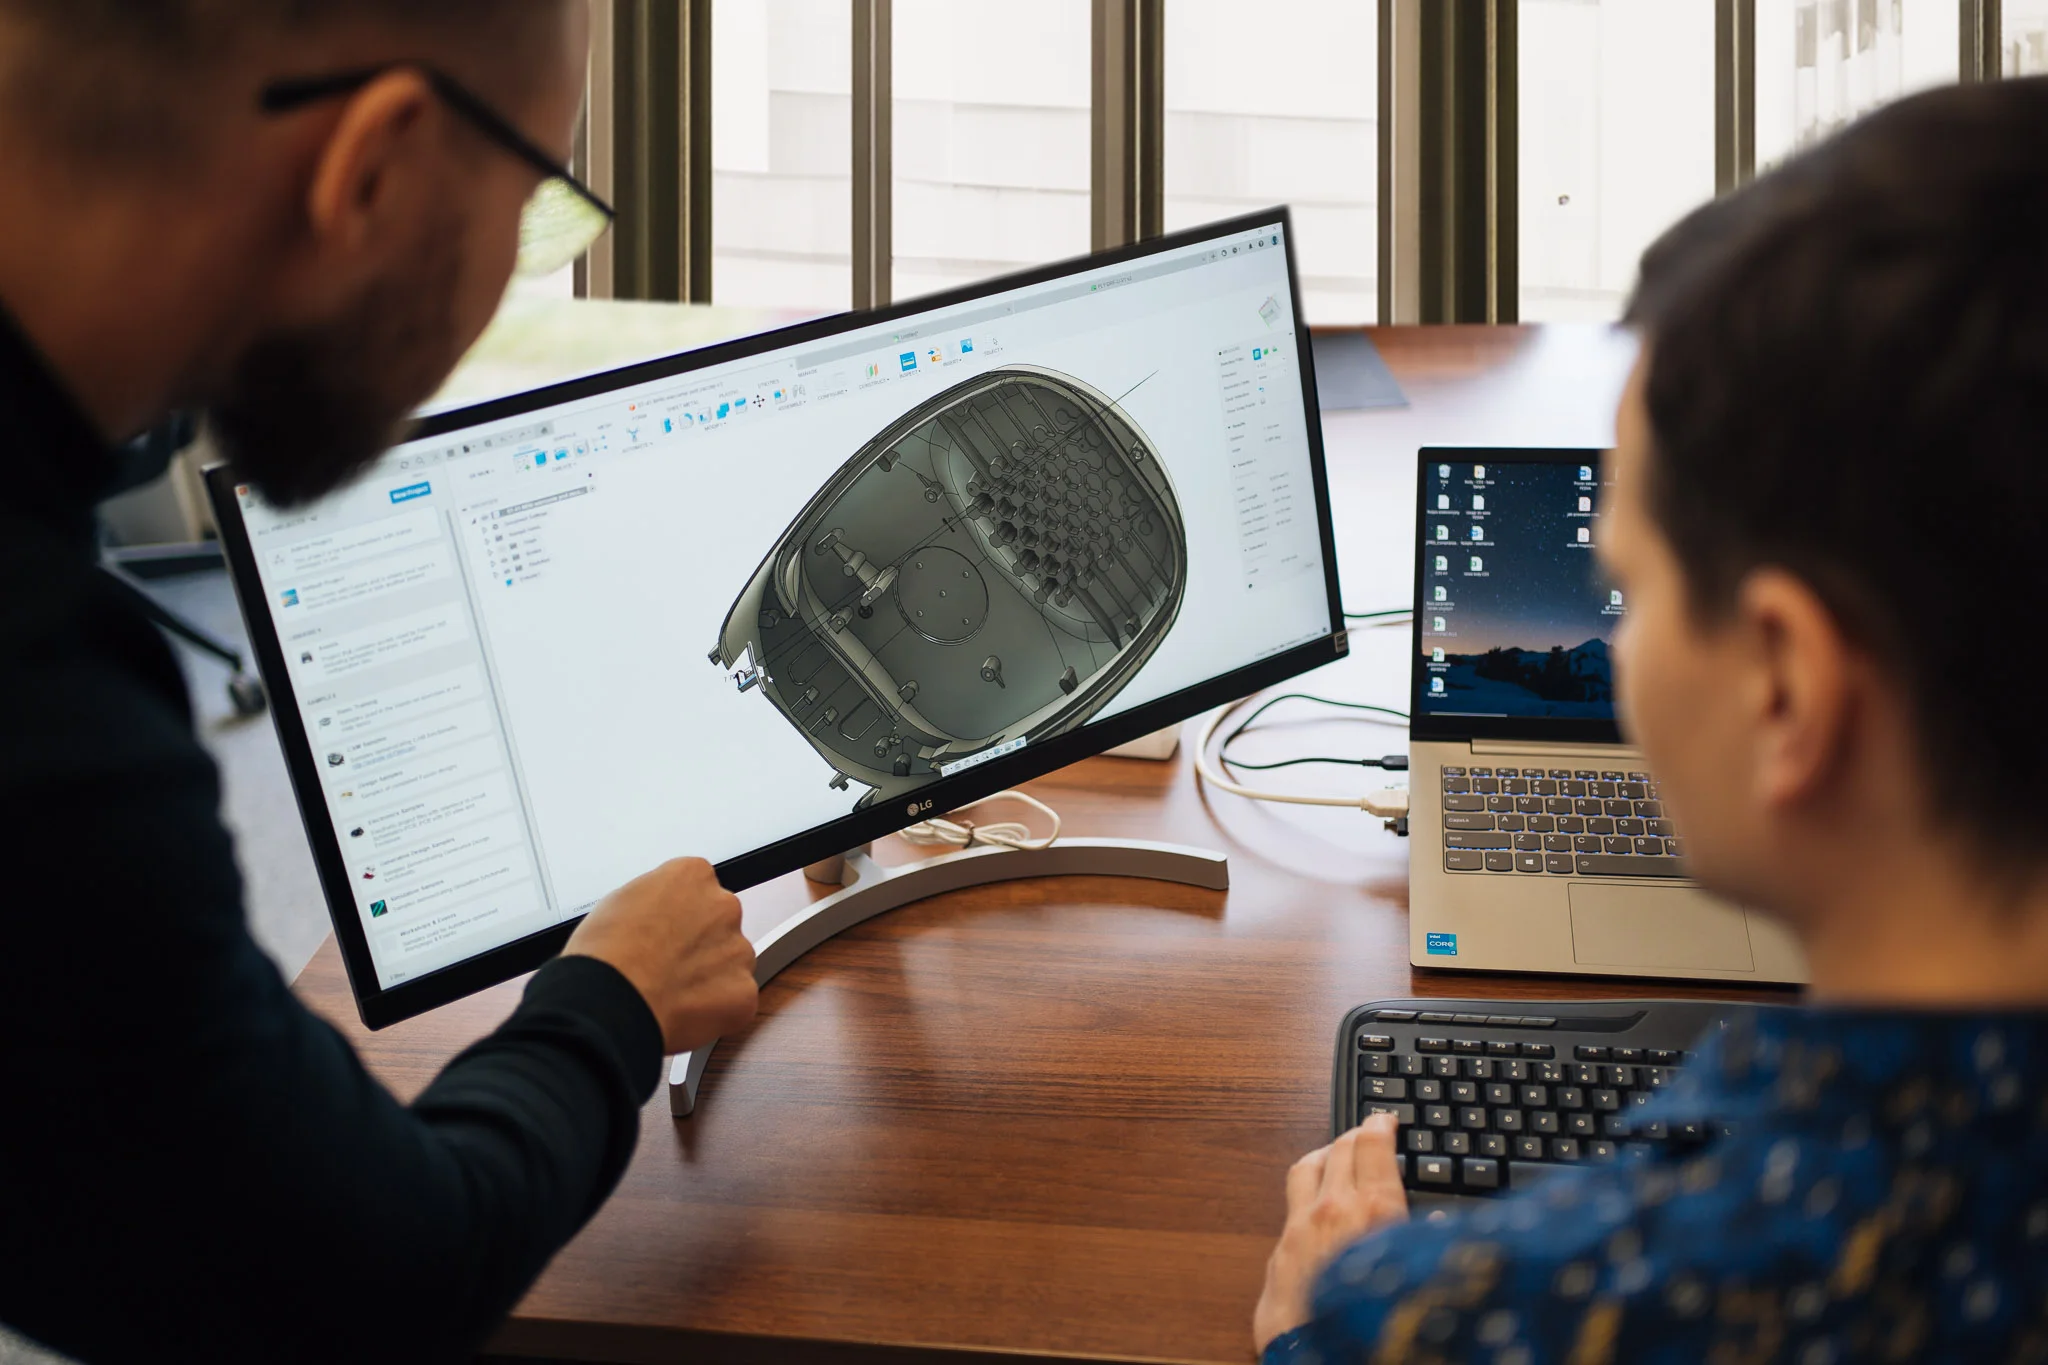
DIALux and audit: how we tie it together in practice
The standard provides requirements, but the design and measurements determine whether the facility actually meets them. Therefore, we treat DIALux and auditing not as an “option” but as tools that tie together: assumptions → calculations → grid → measurements → report.
- Audit of the existing installation: measurements on an agreed grid, measurement report, verification vs. class requirements.
- Design in DIALux/DIALux evo: geometry model, selection of optics, Ehor/Evert calculations, uniformity, glare, and for TV — planes and camera scenarios.
- Acceptance documentation: comparison of calculations with measurements, conclusions, and maintenance recommendations.
Mechanical resistance, i.e., Ball-proof – DIN 18032-3 standard
Finally, it is worth mentioning that when discussing sports halls, in addition to the lighting parameters from EN 12193, there is another dimension of requirements: the mechanical safety of luminaires under playing conditions.
In sports halls, besides meeting the EN 12193 requirements, the ball-impact resistance of luminaires (Ball-proof) is also key. However, this is a different area than photometric requirements, which is why we discuss it in a separate article regarding DIN 18032-3.
Ball-proof Certificate (DIN 18032-3) in sports hall lighting — a complete Luxon LED guide
Summary
If you want sports lighting that passes acceptance, works “over time,” does not dazzle players, works well with the camera, and does not generate conflicts with the surroundings, EN 12193 should be treated as the basis for design, measurements, and maintenance. However, remember — the starting point should always be a reliable diagnosis of the current state, i.e., an audit: measurements on an agreed grid, assessment of maintained parameters, and verification of points where the installation “loses” the result (uniformity, glare, spill light). Only on this basis can a class be sensibly selected, modernization designed in DIALux, and acceptance documentation prepared.
It is the first step towards increasing energy efficiency and improving working conditions. Thanks to it, you will receive a lighting design tailored to the specifics of your facility, space, and the needs of its users.
By ordering a free audit, you will gain::
Lighting audit
Design of an individual lighting solution
Financial analysis of the investment
Estimated level of electricity reduction and CO2 emissions